- /
- Article / MagnaMike 8600- How It Makes Measuring Of Wall Thickness of Packaging Easy?
MagnaMike 8600- How It Makes Measuring Of Wall Thickness of Packaging Easy?

Thickness measurement is a crucial task for 2 reasons; 1: It is difficult to take accurate measurements, 2: It is difficult to perform without destructing the sample. Magna Mike 8600 is the solution to many problems which are related to thickness measurements. Magna Mike 8600 is the product of Olympus and Presto group is an authorised supplier of it.
What is Magna Mike 8600?
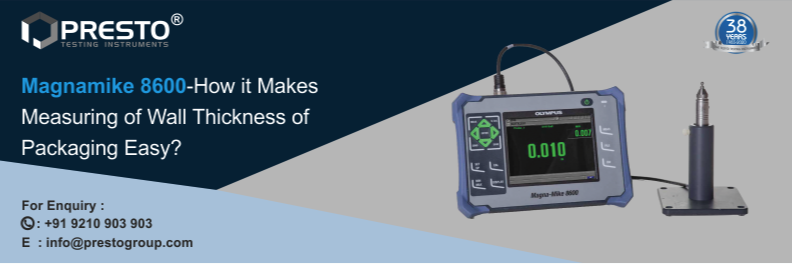
Magna mike 8600 is a wall thickness gauge use non-destructive method for measurement. It is used to measure the thickness of non-ferrous materials. It has a probe and target ball and works on the principle of Hall effect. In simple terms, it measures the distance between probe and wall. It is a simple to use the device but requires good attention while operating it. Output can be taken from more than one output ports, it has mini USB output port, RS232 port, Video output port and micro SD card slot. So, you see, you can transfer the data very easily. Since it has a huge memory, alphanumeric data can be easily logged and transferred.
It comes with targets ball of 3 sizes, 1/8 inch, 1/16 inch and 3/16 inch. The bigger the ball is, the better are the observations. But in most cases, ball size depends upon the area that is to be tested. The kit comes with a lot of frames to calibrate the device.
The standard device comes with the power adapter but the additional battery can be bought if on-site tests need to be performed. Another optional feature is foot switch. Like it has been mentioned, attention is required for precision. The test sample should remain steady when the test is being performed. In this case, either third person should press the switch to record the reading or you may opt for a foot switch. You just need to press it slightly with your foot and reading will be stored.
There is push button provided on the probe which can be assigned with the task, e.g. you have assigned the self-calibration to it. Every time you push it, the device will be calibrated itself.
What is the Standard operating procedure?
Magna mike 8600 works on the hall effect principle. It has a probe and a target ball or disk or wire, depending upon the sample that is to be tested. The probe has 2 wearable tips, 1: Standard tip, 2: Chiselled tip. For measuring the thickness of pipe like structures, the wire is used; the disk is used for small grooves; the ball is the standard measuring target for flat surfaces. Again, the disk comes in 2 shapes; 1: Perpendicular edged shaped disk, 2: V-shaped disk. Here, we are considering ball as the target. If the thickness of bottles is to be measured, the target ball is placed inside the bottle and cap is closed, so as not to lose the ball. The test sample is brought near the probe and placed on it in such a manner so that ball comes in contact with the tip of the probe, with a lining of the sample in between. Due to magnetic property of the tip and probe, a magnetic field formed. Then, the sample is moved along the axis and perpendicular to the axis.
For accurate readings, the operator can do the demarcation of sample into different parts to check the uniformity throughout the walls. Demarcations can be done along the axis and perpendicular to the axis.
Magna Mike 8600 can log ample of alphanumeric data for the reference and up to 1500 files can be created.
How to calibrate it?
The standard process of calibrating is 3 step process. The kit comes with through and through frames and frames shims inserted between them. The metal shim has defined thickness which helps in calibrating the device. Let’s say you want to calibrate the device for 1/8-inch target ball. You choose the appropriate frame with shim with size mentioned on it. Fix this frame on the probe and press Cal button on the interface. The output reading has to be changed in accordance with the measurement mentioned on the frame. For instance, for the 1/8-inch ball, it shows a reading 1.064, whereas on the frame it is mentioned as 1.164. You have to change the reading to 1.164 using the keypad on the interface. Once this is done, press Cal button again, it will ask for a frame with a shim of different thickness. Again, it gives an output which you need to change by referring the frame. Once this is done the 3-step calibration process is over. Now your device is calibrated and ready to use.
The Same procedure is followed for calibrating wall thickness gauge using disks.
What are its major applications?
Magna Mike 8600 can measure the thickness of anything that is non-ferrous. If talk about its application, it has widespread use.
- Glass thickness
- Metal thickness
- Aluminum containers
- Medical packaging
- Air bag tear seams
- PET bottles
- Non-ferrous parts
- Aerospace composites


